Endotracheal intubation via direct laryngoscopy is a crucial procedure in emergency medicine and critical care. This life-saving technique involves placing a breathing tube directly into the trachea using specialized equipment like the Mac blade or Miller blade, ensuring a secure airway for patients who can't breathe effectively on their own.
In emergency situations, the ability to quickly secure an airway can mean the difference between life and death. Medical professionals must act swiftly when faced with:
This comprehensive guide will equip you with essential knowledge about:
To enhance your skills in these critical areas, understanding the broader adult chain of survival in emergency situations is vital. This includes mastering basic life support (BLS) techniques, which are essential when dealing with respiratory failure or cardiac arrest.
Whether you're a medical student, resident, or practicing clinician, mastering endotracheal intubation requires both theoretical understanding and practical expertise. To further solidify your knowledge and skills in this area, consider our ACLS & BLS Recertification Bundle for Groups, which includes comprehensive course materials and unlimited retakes if necessary at no charge.
Additionally, regular quizzes can help reinforce your learning and ensure you are well-prepared for real-life scenarios.

To successfully perform endotracheal intubation, it's crucial to have a thorough understanding of upper airway anatomy. The upper airway consists of several key structures:
The hyoepiglottic ligament plays a crucial role during intubation. When you apply upward force with the laryngoscope blade, this ligament helps lift the epiglottis, revealing the vocal cords.
Multiple cranial nerves are responsible for providing sensory innervation to the upper airway:
These nerves trigger protective reflexes during airway manipulation, including:
Understanding these reflexes helps you anticipate and manage patient responses during intubation, making the procedure safer and more effective.
In addition to anatomical knowledge, it's essential to have a solid grasp of basic life support (BLS) protocols. BLS Certification can provide invaluable skills and knowledge in such situations.
Moreover, certain advanced techniques may be required during intubation, which are covered in various ACLS algorithms. Recertification courses are also available for those who need to refresh their skills in these areas, such as through recertification courses.
Finally, understanding how to manage specific scenarios that may arise during intubation is crucial. For instance, you might encounter situations that require a deeper understanding of airway management strategies. These scenarios can often be explored further through targeted quizzes like this one, which tests your knowledge on various aspects of airway management.
Overall, successful intubation is not just about understanding anatomy but also about applying that knowledge effectively while being prepared for any unexpected situations that may arise.
Proper patient positioning is crucial for successful intubation. The "sniffing position" is the best way to align the oral, pharyngeal, and laryngeal axes:
Before intubation, it's important to assess the patient's airway for any potential difficulties. The "LEMON" mnemonic can help you remember what to look for:
Before proceeding with intubation, make sure to go through this checklist:
The presence of any difficult airway indicators should alert you to consider alternative intubation strategies or additional equipment preparation.
In cases where difficult airways are anticipated, it may be beneficial to explore how technology can enhance patient outcomes. For example, understanding the impact of AI on emergency cardiac care can provide insights into how advanced data analysis and real-time decision support can improve diagnosis and treatment precision in critical situations.
Familiarizing yourself with BLS certification guidelines can also be instrumental in ensuring preparedness for unexpected complications during intubation.
Should complications arise during the procedure, having knowledge of stroke management can be crucial as it may become relevant depending on the patient's condition.
Lastly, it's essential to continuously test your knowledge and readiness through resources such as online quizzes (like this one) which can serve as effective study tools in preparation for such critical procedures.

A successful endotracheal intubation requires specific equipment to ensure patient safety and procedural efficiency. Here's a comprehensive list of essential tools:
The availability of both primary and backup equipment creates a safety net for managing challenging airways. Video laryngoscopes serve as valuable alternatives when direct visualization proves difficult, reducing the risk of failed intubation attempts.
In addition to the equipment, it's crucial to be well-prepared with the necessary skills and knowledge for effective PALS primary and secondary surveys, especially when working with children who may experience sudden health issues such as cardiac arrest or severe allergic reactions.
Furthermore, understanding solo provider adult BLS techniques can greatly enhance the effectiveness of the intubation procedure.
For those preparing for online courses related to these medical procedures, here are some best study tips that can help streamline your learning process.
Lastly, after a successful intubation, it's important to know how to manage post-resuscitation care and transfer to tertiary care facilities. This is where the knowledge gained from the PALS certification comes into play, ensuring a smooth transition and continuous care for the patient.
It's also important to remember that effective airway management is not solely reliant on equipment but also on understanding key principles, such as those outlined in this Virginia Department of Health document, which provides valuable insights into airway management techniques and protocols.
Mastering the technique of direct laryngoscopy requires precision and practice. Here's a detailed breakdown of the intubation process:
Common Errors to Avoid:
Important Considerations: Moving Victims
During an emergency situation where endotracheal intubation is necessary, it may be required to move a victim. Generally, moving a victim is not recommended unless there is a direct danger to their life or if it is necessary to provide care. In such cases, it's crucial to assist an unconscious victim who is breathing and has a pulse into the [recovery position](https://affordableacls.com/lessons/23-moving-victims-5) to protect their airway and reduce the risk for aspiration.
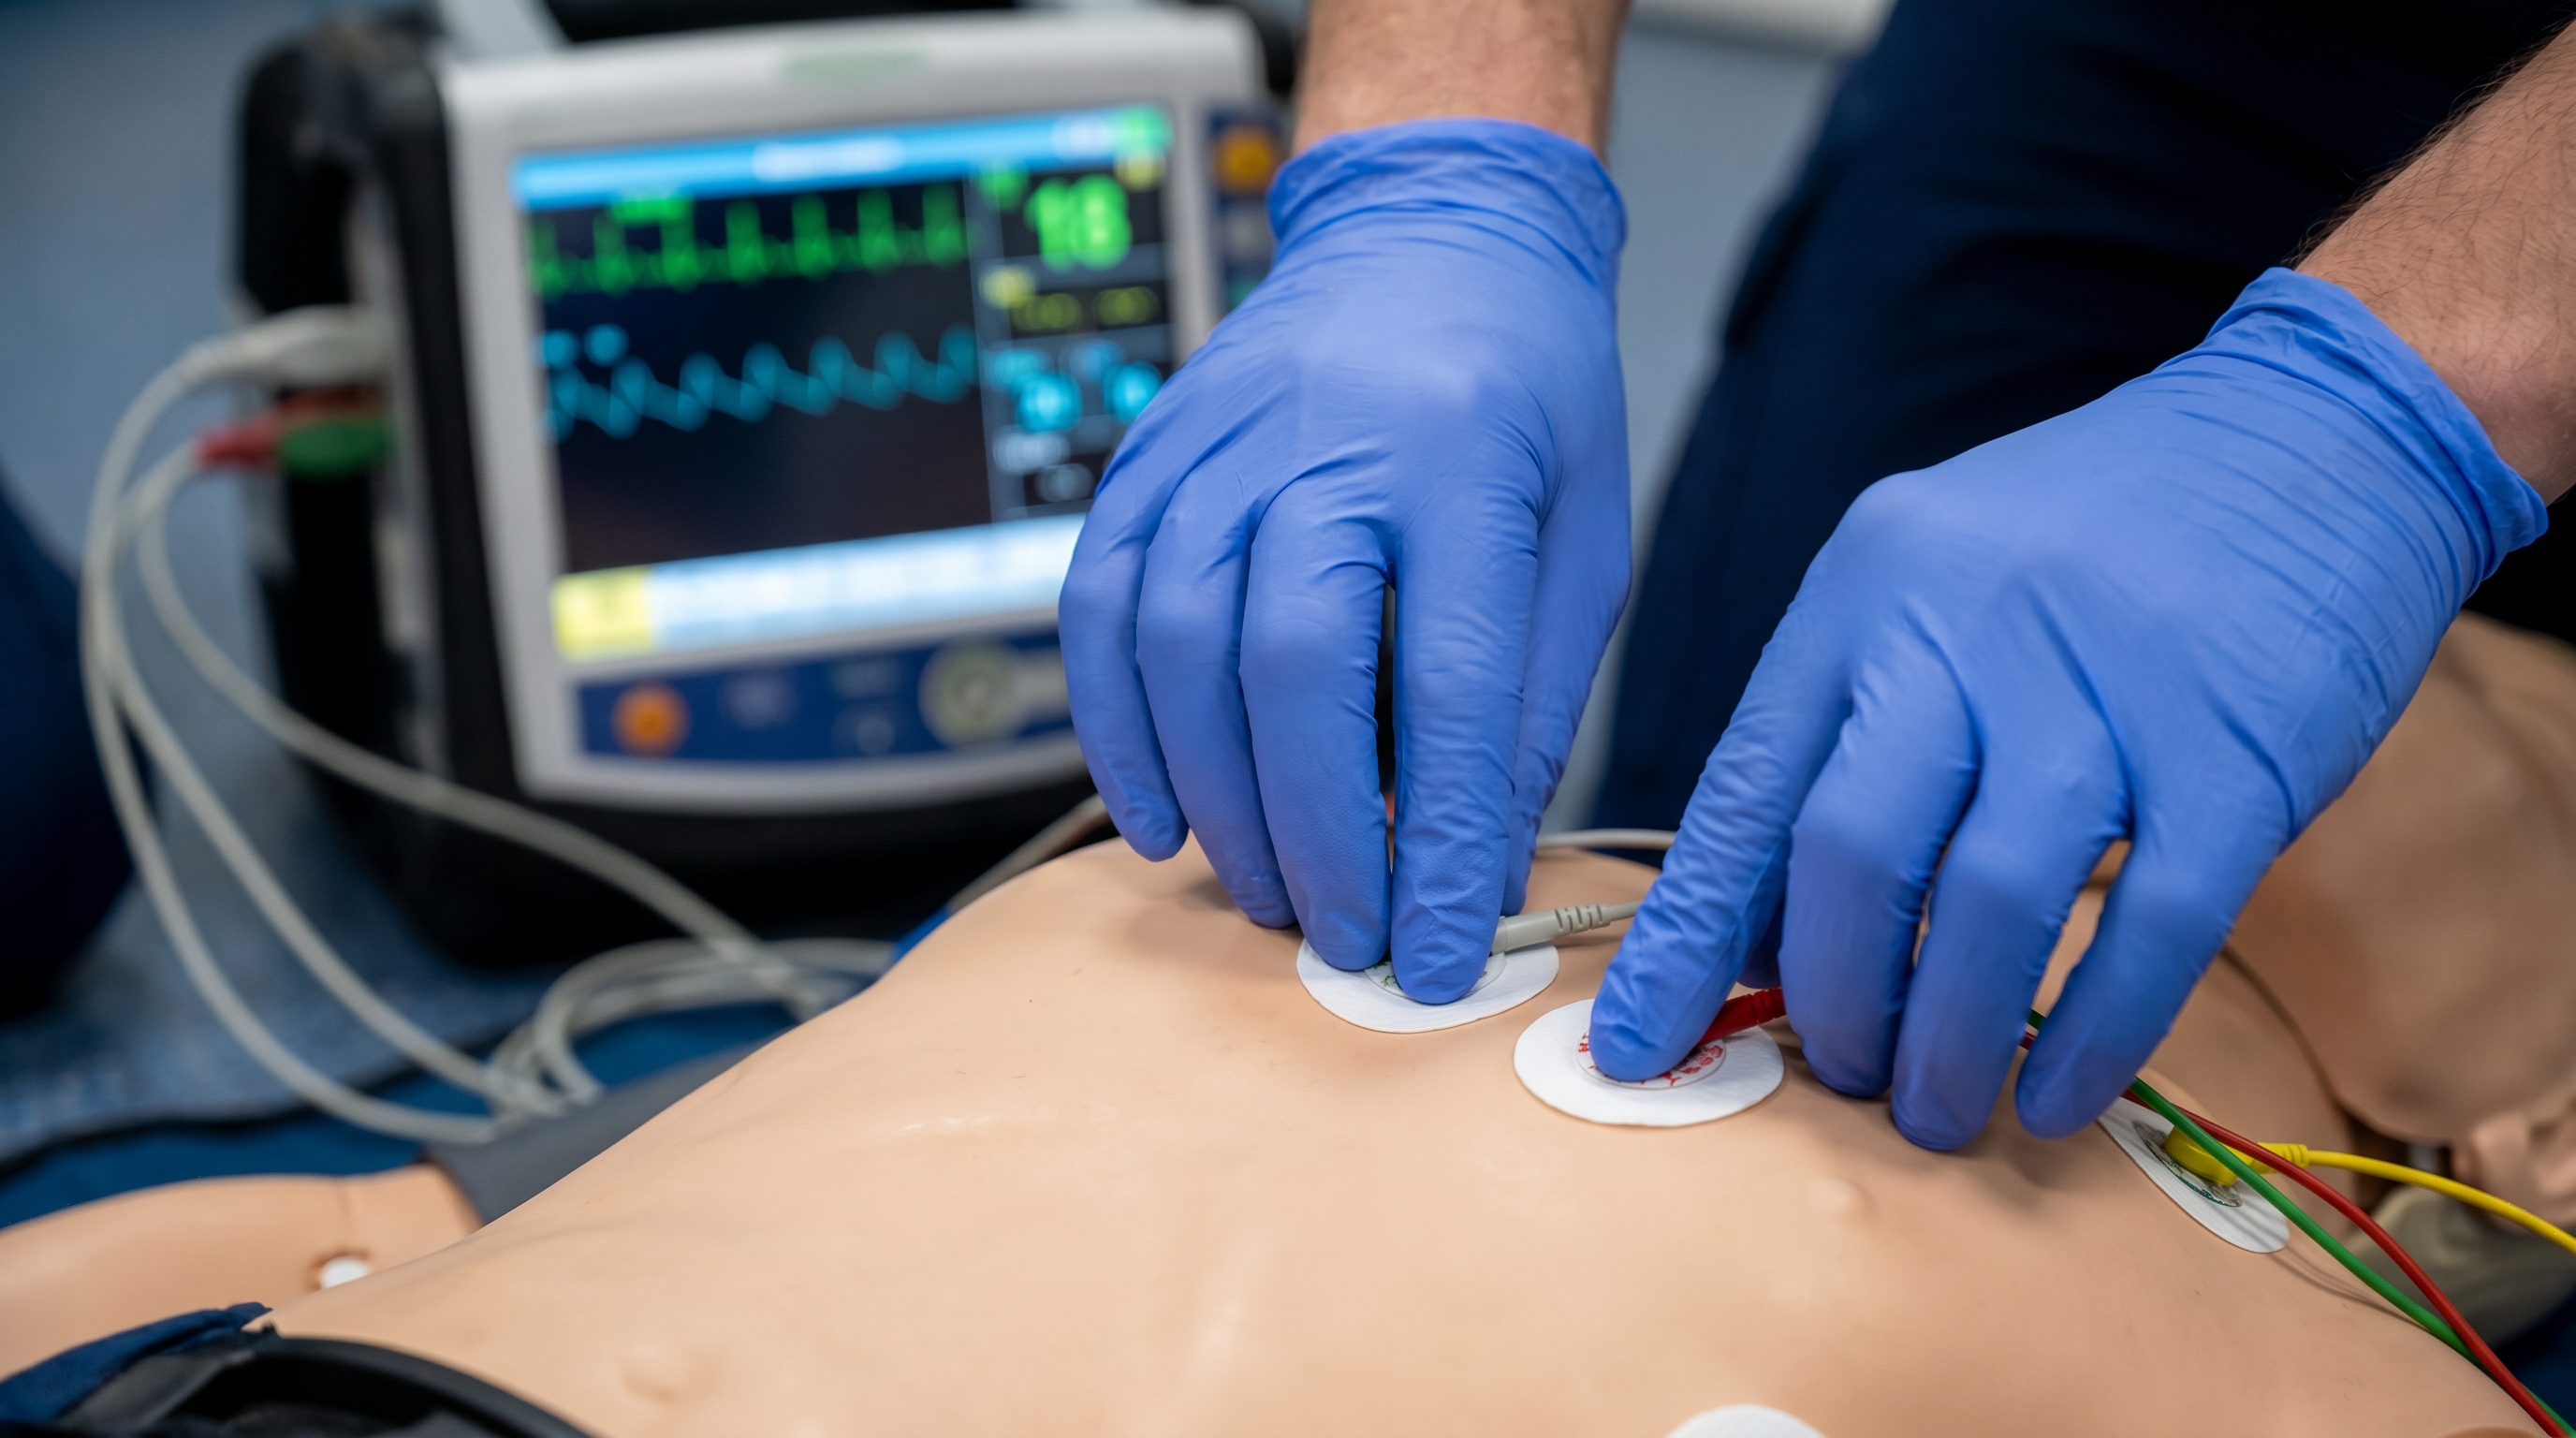
Proper confirmation of endotracheal tube placement is critical for patient safety. Here are the essential verification methods you need to implement:
It's crucial to regularly reassess tube position during patient movement, transport, or position changes. Documentation of all confirmation methods strengthens the verification process and enhances patient safety.
In cases where post-cardiac arrest management becomes necessary, it's vital to have a well-defined algorithm in place. This not only ensures a systematic approach but also significantly improves patient outcomes in such critical situations.
Endotracheal intubation carries significant risks that require immediate recognition and management. Here are the critical complications you need to watch for:
Successful management of these complications relies on quick recognition and decisive action. Each failed attempt increases risk, making first-pass success crucial. Regular simulation training helps healthcare providers maintain competency in managing these critical situations.
In cases of hypoxemia, [implementing apneic oxygenation](https://affordableacls.com/adult-tachycardia-with-a-pulse-algorithm) can be a lifesaver. Additionally, understanding [ACLS algorithms](https://affordableacls.com/acls-algorithms) can greatly assist in managing such critical situations effectively.

Rapid Sequence Intubation (RSI) is a crucial method used in emergencies to manage the airway. Here's how it works:
RSI is especially useful for patients who have recently eaten or those who are at high risk of choking. By giving medications quickly, we can reduce the time between losing the body's natural reflexes that protect the airway and securing the airway.
In certain emergencies, such as a heart attack, it's important to recognize symptoms and call for immediate medical help. Knowing about airway management techniques like RSI can be lifesaving in these situations.
RSI is beneficial in specific scenarios:
Awake Intubation Techniques offer an alternative method when we anticipate having difficulty accessing someone's airway. This approach involves:
The decision between using RSI or awake intubation depends on various factors:
Both techniques require specific skills sets from healthcare providers involved along with readiness regarding available resources/equipment required for optimal outcomes.
In pediatric emergencies—such as those needing pediatric basic life support—understanding these advanced methods related towards managing airways proves significantly beneficial while delivering effective care until professional assistance arrives on-site.
Successful endotracheal intubation requires seamless coordination between multiple healthcare professionals. Each team member plays a vital role in ensuring patient safety and optimal outcomes.
Clear communication channels between team members create a structured environment for successful intubation. The team practices closed-loop communication, where each instruction is acknowledged and confirmed. Regular team training sessions enhance coordination and improve emergency response capabilities.
A designated team leader assigns specific roles before the procedure, ensuring each member understands their responsibilities. This organized approach minimizes confusion and reduces the risk of complications during this time-sensitive procedure.
In addition to these roles, it's crucial for all team members to be equipped with comprehensive emergency response skills. Such training can significantly enhance their ability to handle unexpected situations during procedures. For instance, consider enrolling in an online PALS course through Affordable ACLS to enhance your skills and ensure you are fully equipped to handle any situation that may arise.
Mastering endotracheal intubation via direct laryngoscopy demands dedication, practice, and continuous learning. This life-saving procedure requires:
Your success in airway management depends on thorough preparation, proper equipment handling, and the ability to anticipate potential complications. Remember that each intubation presents unique challenges, making it essential to stay adaptable and maintain a comprehensive approach to patient care.
The skills you develop through hands-on experience, combined with the knowledge of various techniques and safety protocols, will enable you to perform this critical procedure with confidence and precision. Your expertise in endotracheal intubation can make the difference between life and death for patients requiring immediate airway intervention.
.jpg)